
There are 3 different hardware controllers in the devices, but updating them is similar. The controller is the part where your USB-C cable plugs into. It’s not critical to identify your device type, as explained below. Here is how to identify the type in your unit.
Type 1: Blue controller with the top “D13” pin and the bottom right “D12” written vertically.

Type 2: Blue controller with the top “D13” pin and the bottom right “D12” written horizontally.

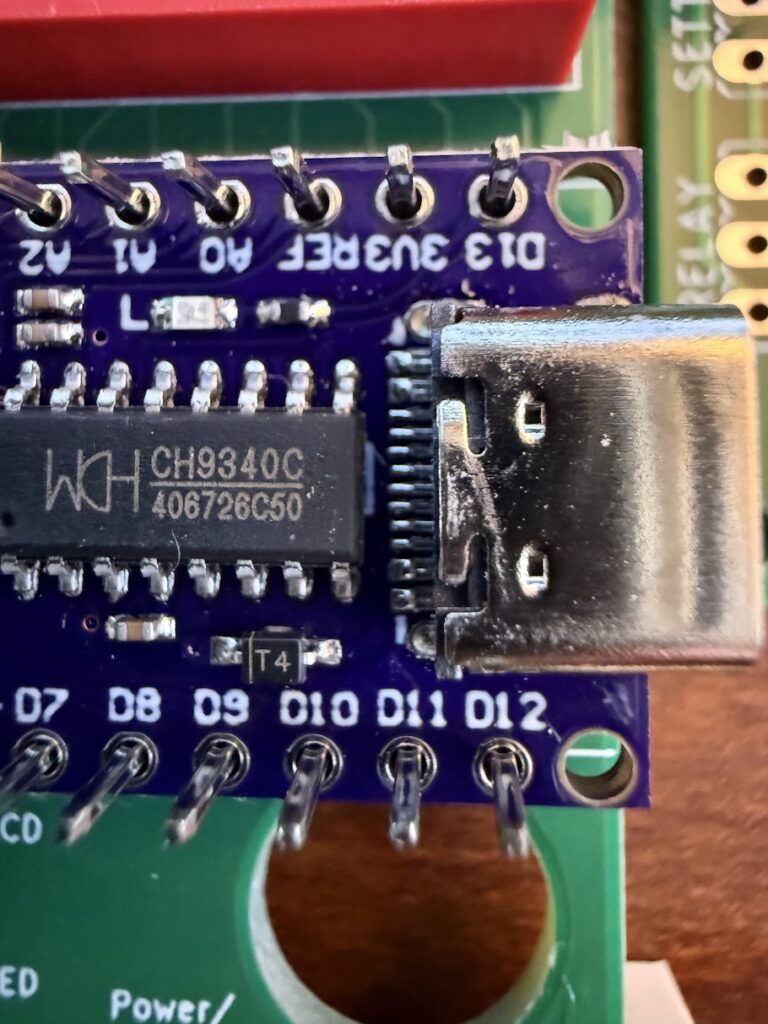
Type 3: Purple controller with the top “D13” pin and the bottom right “D12” written horizontally.
Nothing will be damaged by attempting to update your device using the wrong firmware type file for your device, the process just won’t work. If the firmware of your device ends in a “c” (e.g., Ver 1.0c), reach out before updating your device, as this is custom firmware, and any customizations will be deleted by updating to a standard firmware.
Hardware versions
- Each device says the hardware version written in white text (e.g., Ver 1.0) on the green circuit board, which is different from the software version that flashes on the screen at bootup. The Maple Digital Barometers and all variations of the Sap Temperature Probe hardware can be differentiated by either black jumpers to adjust the settings (hardware versions 1.0 and 1.1), or a red and white switch block (hardware version 1.2). If you inadvertantly update a device with the software for the wrong hardware version you will not cause any damage, however the device will not function. Re-updating the device with the correct software will restore functionality.
Type 1, 2, and 3 Controllers
- Maple Digital Barometer hardware versions 1.0, and 1.1: Software version 1.0
- Reverse Osmosis Pump Controller: Software version 1.0 (coming soon)
- Sap Temperature Probe hardware versions 1.0, and 1.1: Software version 1.0
- Sap Temperature Probe and Relay (Auto Draw Off) hardware versions 1.0, and 1.1: Software version 1.1
- Temperature-Controlled Sap Pump Controller: Software version 1.05
Type 3 Controllers
- Maple Digital Barometer, hardware version 1.2: Software version 1.1
- Maple Candy Thermometer: Coming soon
- Sap Temperature Probe hardware version 1.2: Software version 1.3
- Sap Temperature Probe and Relay (Auto Draw Off) hardware version 1.2: Software version 1.3
- Stack Temperature Probe: Coming soon
Update instructions (Windows 10/11)
- Plug the device into your computer. If you are told a driver is required, you can download it here: driver (unzip and run Setup, similar to the instructions below for running FirmwareUpdater).
- Download and extract the contents of the firmware zip file, and run FirmwareUpdater (if that’s Greek, here’s how):
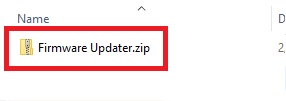
- Double click on firmware*.zip file you just downloaded, which should open a folder (see below if this doesn’t happen).
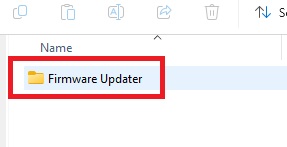
- Double click on Firmware Updater folder:
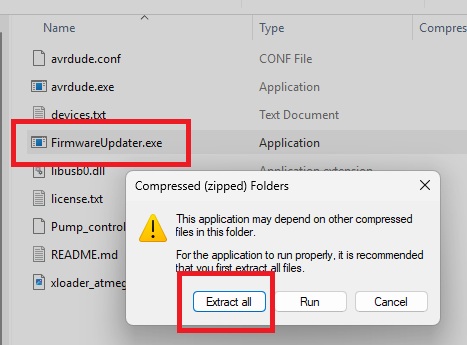
- Double click on FirmwareUpdater.exe, and click, Extract all:
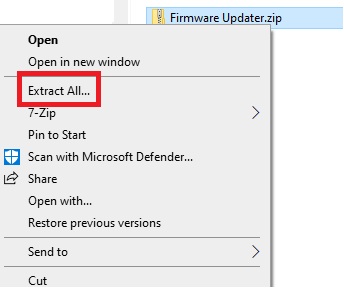
- If double clicking on the firmware *.zip file you downloaded doesn’t open the folder and instead opens another program to unzip the file that you’re unfamiliar with, or does not show the Extract all button as shown above, instead of double clicking on the zip file you downloaded, right click on it and select “Extract All…” from the menu.
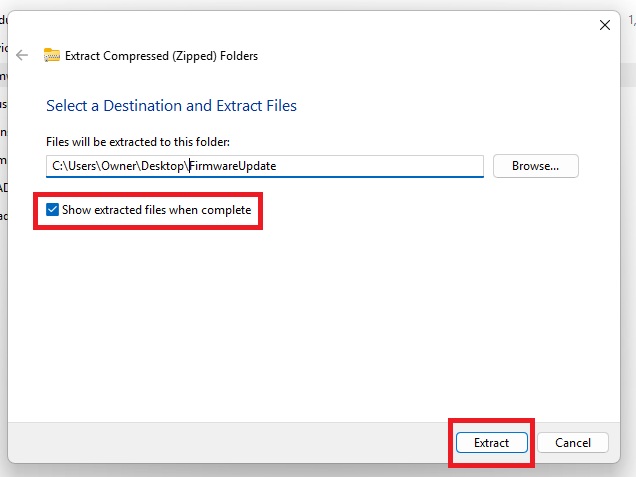
- Click Extract (ensure “Show extracted files when complete” is checked):
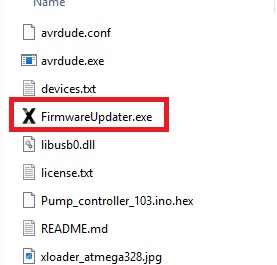
- In the new folder that just opened, double click the FirmwareUpdater program with the X icon:
- Click the “…” button to open the file dialog box, and navigate to the folder that you extracted the files to, and select file with the name of the device you are updating (e.g., Maple Digital Barometer, Sap Temperature Probe, Sap Pump Controller, etc.):
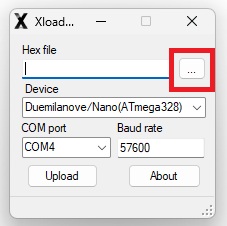
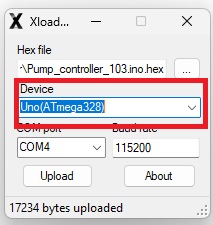
- If you have a Type 1 hardware controller as mentioned at the top of the page, select “Uno(ATmega328)” in the Device dropdown box.
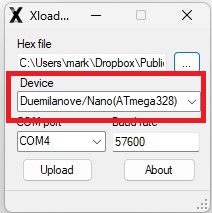
- If you have a Type 2 device as mentioned at the top of the page, select “Duemilanove/Nano(ATmega328)” in the Device dropdown box. (If you have a blue controller and are uncertain which hardware type you have, you can start with Type 1, and if that does not work, follow the instructions again for Type 2. As mentioned before, if you pick an incorrect setting it won’t harm anything, it just won’t update the device).
- If you have a Type 3 device as mentioned at the top of the page, select “Uno(ATmega328)” in the Device dropdown box.
- You will likely only have a single COM port to choose from under COM port. If you have more than one, note the numbers available, unplug the device, and see which number disappears. Plug the device back in, and see the number that reappears. This will be the correct number to choose.
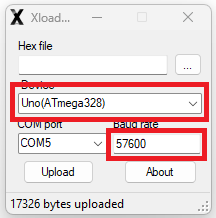
- For Type 1 and Type 2 devices, the baud rate field will automatically fill in. For Type 1 devices this will be 115200, and for Type 2 this will be 57600. For Type 3 devices, change the number to 57600.
- Once the device has been running for at least 20 seconds, you can then click upload:
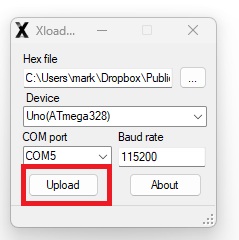
- If the process does not work, you can try the other device type, try unplugging and replugging your device in again, waiting 20 seconds, and trying again, and finally you can try changing the Baud rate to the other value. If you run into any issues, please reach out.